How to Replace an Electrical Outlet
CHECK FOR POWER
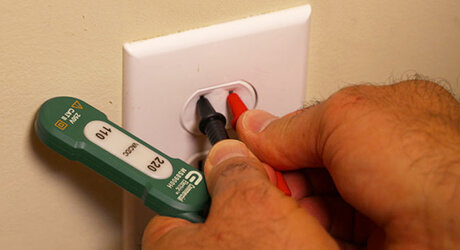
Turn off the power for the circuit at the breaker box. Test with a voltage tester to confirm. If the tester shows current, check the service panel and turn off another circuit that powers the outlet. Test again and proceed only if the tester shows no current.
Remove the receptacle cover plate and unscrew the mounting screws. Be careful not to touch the wires or terminals. Pull out the receptacle.
DOUBLE-CHECK WIRES FOR POWER

In a damaged receptacle, wires may be powered even though testing shows none is flowing. Touch tester probes to the top pair of terminal screws, and then the bottom pair.
If you have old wiring and both wires are black, use a receptacle analyzer to check that the neutral wire is connected to the silver terminal and the hot wire to the brass.
SNIP AND RESTRIP DAMAGED WIRE ENDS
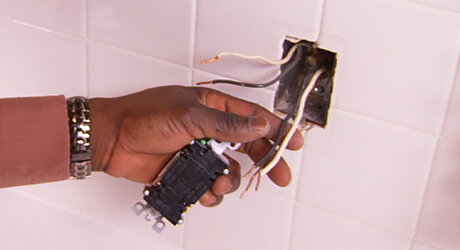
Once you’re sure the power is off, unscrew the terminals and pull away the wires. Do not twist them too much. If a wire end appears nicked or damaged, or if it looks like it’s been twisted several times, snip off the end and restrip it.
INSTALL THE NEW RECEPTACLE
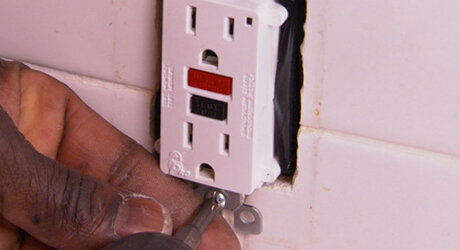
Wire the new receptacle as the old one was, with each white wire connected to a silver terminal and each black wire connected to a brass terminal. Wrap with electrical tape to cover all terminals and bare wires.
Gently push the outlet back into the box. Tighten the mounting screws and check that the receptacle is straight. Replace the cover plate, restore power and test with the voltage tester.
Ready to find the supplies you need in your local store? Use The Home Depot app to locate products and check inventory. We'll take you to the exact aisle and bay.