How to Install Recessed Lights in a Drop Ceiling
Recessed lighting looks great in any room, and it is an especially good fit for a space with drop ceilings, such as a basement. Recessed lights look sleek and illuminate brightly without sacrificing any headroom.
This guide will outline the basics of how to install recessed lights in a drop ceiling.
Lay Out Drop Ceiling Recessed Lights

Use graph paper to create a map of your room space. You'll use this to plan where your lights will go.
Recessed lighting housing will be positioned and spaced out according to your ceiling height, how bright you want the room to be overall and any focal points you want to highlight.
Click here to read our companion guide for more details on How to Lay Out Recessed Lighting and selecting recessed lighting trim.
Try to select lights that do not generate too much heat, which can be a concern with fiberglass panels or ones with plastic surfaces. LED recessed lights make a great option as they run cooler and often are less complicated to install.
Your lights should also be equipped with mounting arms or clips that you can attach to ceiling supports.
Insert Supports For Recessed Lighting
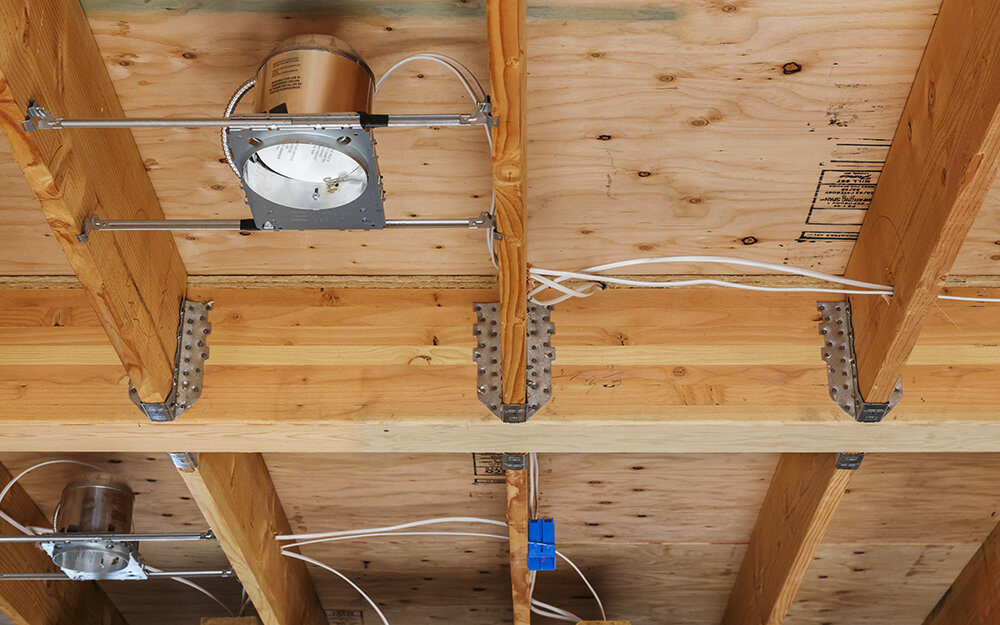
Drop ceiling tiles won't support the weight of a recessed light by itself. Additional support structures are needed in recessed lighting for a drop ceiling.
Wire supports must be installed on each tile where a light will be located. Install four suspension clips - two on each side - to the floor joists above the ceiling tile. Position the clips off-center by about 7 inches, then cut enough wire to run between each clip and the main ceiling grid, plus 24 inches of extra wire to complete a securing wrap at each attach point. Be sure not to draw the wires too tight or you run the risk of unleveling the main supprt wires.
A frame support will rest on top the ceiling grid, providing additional strength through two bars that lay across the each grid square, along with additional hanging wires that connect the interior ceiling and the drop ceiling grid.
Tip: Follow the manufacturer's installation instructions for the support type you select.
Position the Lights

For each ceiling tile where a light will be located, remove the tile and place it on a work surface.
Measure from all sides to find the exact center of the tile and trace the outline of the light in this spot.
Cut out the hole using a utility knife or a keyhole saw.
Carefully brush the opening lightly with a cloth to remove any loose particles.
Return the panel to the opening in the ceiling then remove the next panel over from the one with the hole.
Slide the light into place over the hole and attach the housing to the supports. If required, loosen the screws holding the can in place to lower the can into proper position. Consult your instructions for specific installation requirements for your light model.
Wire the Lights

Wire the lights to your electrical cables, following the manufacturer's instructions; match wires of like colors to make connections.
Wire the light switch to the cables.
By law, you will need to have an electrician wire the circuit to the main electrical box and inspect the circuit as a final step.
If you are not comfortable working with electricity and wiring, it is best to hire an electrician to make all of the connections.
Add Bulbs and Trim

Insert the light bulb into the recessed lighting housing.
Attach the trim ring to the rim of the light can.
Restore power to the room and turn on the lights to test them.